Xamarin.Forms お絵かきアプリ
1 お絵かきアプリ
タッチを処理してお絵かきアプリ風のサンプルを作成してみました。
残念ながら、Xamarin.Formsでは、タッチの開始・移動・終了・キャンセルのイベントは処理できません。また、描画も、世界最強のコントロール(スイマセン)BoxViewぐらいしかありません。
そこで、今回のサンプルは、タッチイベントのトラップと線分の描画をレンダラ側で書いて、それ以外は、可能な限りPCL側に詰め込んだ感じになっています。
| Android | iOS | WindowsPhone |
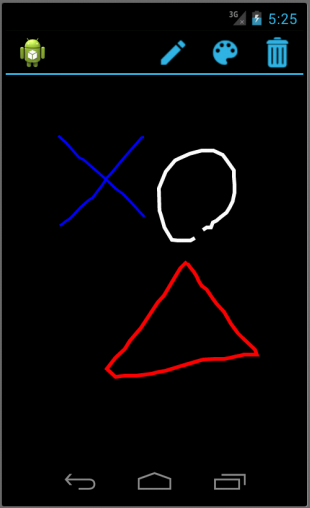 |
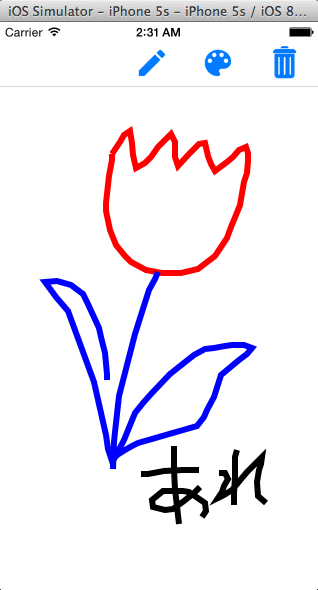 |
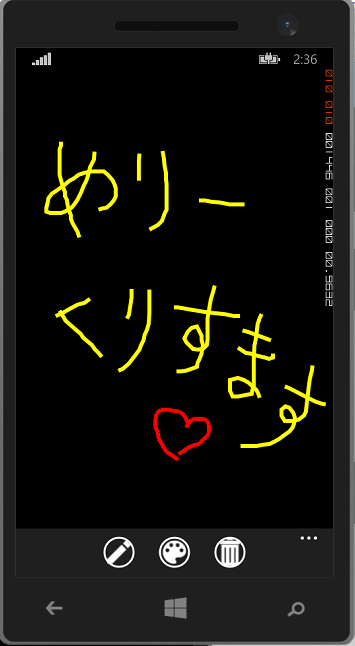 |
コードは、Gitに置きました。
furuya02/Xamarin.Forms.Freehand · GitHub
2 データ構造
お絵かきのデータは、タッチの移動を記録した線分のリストです。(1) Stroke
クラスStrokeは、1筆分のデータです。
移動した位置が配列で保持され、合わせて「太さ」と「色」が記録されています。
public class Stroke {
    public Color Color { get; private set; }
    public int Width { get; private set; }
    public List<Point> Points { get; private set; }
    public Stroke(Color color,int width) {
        Color = color;
        Width = width;
        Points = new List<Point>();
    }

    public void Add(Point point) {
        Points.Add(point);
    }
}
(2) Strokes
クラスStrokesは、先のStroke(線分)を複数保持したお絵かきデータです。線分記録の開始(Begin)、移動(Move)、終了(End)のメソッドで、データをStrokesに追加していきます。
public class Strokes {
    //・・・略・・・
    public List<Stroke> Data { get; private set; }

    public void Begin(int x, int y,Color color,int strokeWidth) {
         //・・・略・・・
         _stroke = new Stroke(color, _strokeWidth);
         Data.Add(_stroke); //現在描画中の線は、配列の最後にセットされている
         Move(x, y);
    }

    //データの追加があった場合、trueを返す
    public bool Move(int x, int y) {
        if (LastX == x && LastY == y)
            return false; //同じデータは追加されない
        if (Math.Abs(LastX - x) < _strokeWidth && Math.Abs(LastY - y) < _strokeWidth) {
            return false; //線の太さの範囲内の移動は追加しない
        }
        _stroke.Add(new Point(x, y));
        return true;
    }

    public void End() {
        //・・・略・・・
    }

    //・・・略・・・
}
2 キャンバス
お絵かきのキャンバスは、BoxViewを拡張して作成しました。拡張BoxViewでは、タッチの開始(OnBegin)、移動(OnMove)、終了(OnEnd)用の各メソッドを用意し、レンダラ側からこれらを呼び出します。
データの削除は、Strokesを初期化するのと同時に、プロパティの変化としてレンダラ側に伝達し、OnElementPropertyChangedで再描画を行っています。
public class ExBoxView : BoxView {

    public int StrokeWidth { get; set; }
    public Color StrokeColor { get; set; }
    public Strokes Strokes { get; private set; }

    public void Clear() {
        Strokes.Clear();//Strokesのデータを初期化
        OnPropertyChanged();//レンダラーにプロパティ"Clear"が変化したことを伝える
    }

    public ExBoxView() {
        StrokeWidth = 6;//太い
        //デフォルトの描画色は、デバイスごとに背景に合わせる
        StrokeColor = Device.OnPlatform(Color.Black, Color.White, Color.White);
        Strokes = new Strokes();
    }

    public void OnBegin(int x, int y) {
        Strokes.Begin(x, y, StrokeColor,StrokeWidth);
    }

    public bool OnMove(int x, int y) {
        return Strokes.Move(x, y);
    }

    public void OnEnd() {
        Strokes.End();
    }
}
3 タッチイベント
タッチイベントは、レンダラ側でトラップし、PCL側のメソッドをコールしています。移動のイベントでは、データの追加が発生した場合、描画も行っています。
下記のコードはiOSの場合の例です。
[assembly:ExportRenderer(typeof(ExBoxView),typeof(ExBoxViewRenderer))]
namespace Freehand.iOS{
    internal class ExBoxViewRenderer : BoxRenderer {

    //・・・略・・・

    public override void TouchesBegan(NSSet touches, UIEvent evt) {
        base.TouchesBegan(touches, evt);

        //UITouchの取得
        _touch = touches.AnyObject as UITouch;

        if (_touch != null) {
            var p = _touch.LocationInView(this); //位置情報取得
            _exBoxView.OnBegin((int) p.X, (int) p.Y);
        }
    }

    public override void TouchesMoved(NSSet touches, UIEvent evt) {
        base.TouchesMoved(touches, evt);
        if (_touch != null) {
            var p = _touch.LocationInView(this); //位置情報取得
            if (_exBoxView.OnMove((int)p.X, (int)p.Y)) {//データを追加すると同時に1つ前のデータを取得する
                //追加があった場合は、再描画する
                InvokeOnMainThread(SetNeedsDisplay);
            }
        }
     }

     public override void TouchesEnded(NSSet touches, UIEvent evt) {
        base.TouchesEnded(touches, evt);
        if (_touch != null) {
            _exBoxView.OnEnd();
        }
    }

    //・・・略・・・

}
4 メニュー
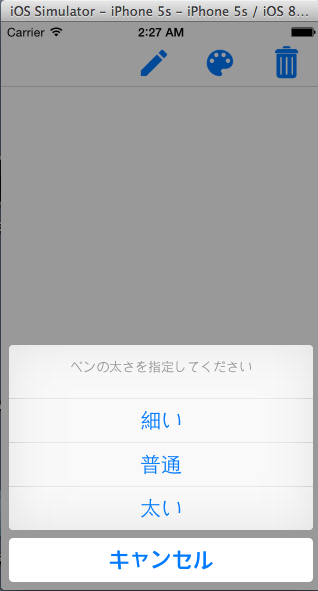
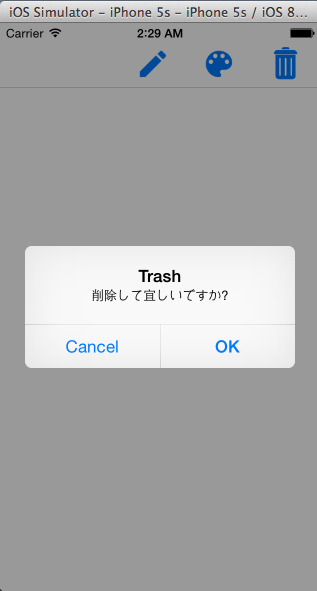
メニューは、ツールバーにアイコンを配置し、DisplayActionSheetの選択で処理しました。
ToolbarItems.Add(new ToolbarItem {
    Name = "Pen",
    Icon = "pen.png",
    Command = new Command(async () => {
        var ar = new[] { "細い", "普通", "太い" };
        var result = await DisplayActionSheet("ペンの太さを指定してください", "キャンセル", null,ar);
        for (var i=0;i<ar.Length;i++) {
           if (ar[i] == result) {
                exBoxView.StrokeWidth = (i+1)*2;
                break;
           }
        }
    })
});
 |
 |
 |